How to test and align garage door safety sensors
Your garage door reverses for no reason? Here's how to test and align the safety sensors in 15 minutes, plus the wiring and sunlight fixes that actually work in Tampa.
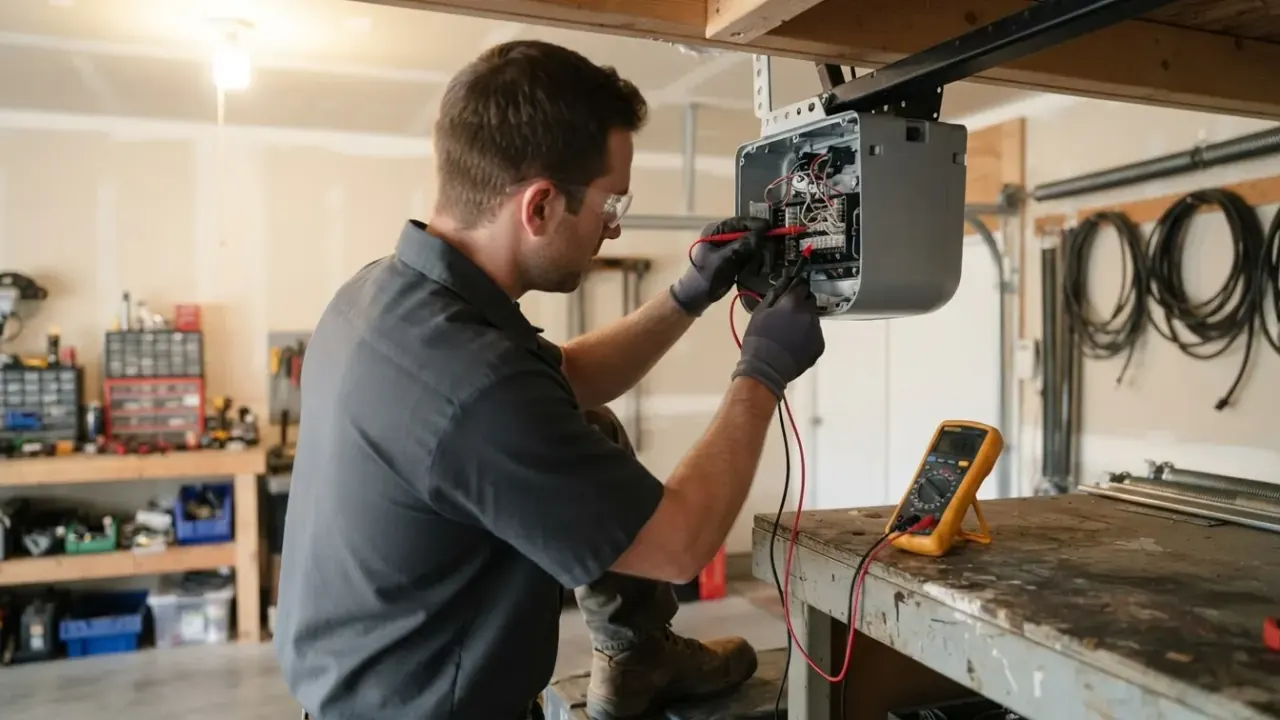
Garage door safety sensors are the two small photo-eye units mounted about 6 inches off the floor on each side of the door opening, and they work by shooting an invisible infrared beam across the opening - if anything breaks that beam while the door is closing, the door reverses. Testing them takes about 60 seconds: press the wall button to close the door, then wave a broom handle through the beam. If the door does not reverse, the sensors are misaligned, dirty, or dead. Aligning them is a 15-minute job with a screwdriver and a level, and we walk Tampa homeowners through the exact steps below.
Most of the calls we run in Tampa start the same way: the door goes down six inches, stops, and goes back up. Nine times out of ten it is the sensors, not the motor. This post covers the test, the alignment fix, the wiring and sunlight problems that keep tripping the beam, and the point where you should stop and call us.
What garage door safety sensors actually do
Garage door safety sensors are a required safety device that stops and reverses a closing door the instant the infrared beam between the two units is interrupted. Since 1993, UL 325 has required every residential automatic garage door opener sold in the US to include either a photo-eye system or a door-edge sensor, and the photo-eye version is what you will find on virtually every Tampa home built or retrofitted since then.
Each unit has two parts. The sending eye emits the beam; the receiving eye catches it. Both have a small LED indicator light. On most LiftMaster and Chamberlain units, a steady amber or green light on the sending eye means it has power, and a steady green light on the receiving eye means it is seeing the beam. If the receiving light is off, blinking, or red, the door will not close under normal operation - and that is exactly what the system is designed to do.
One more thing worth knowing: the sensors do not control whether the door opens. If your door opens fine but refuses to close, you are almost always looking at a sensor problem, not a motor problem. If it will not open at all, that is a different failure - usually a garage door spring repair in Tampa issue or a stripped opener gear.
How do you know your sensors are misaligned?
You know the sensors are misaligned when the door closes a few inches, reverses, and the receiving eye's LED is off, blinking, or red instead of a steady green. That single symptom - combined with the LED state - is the diagnosis. You do not need a multimeter or a diagnostic tool to confirm it.
Here are the other tells we hear about on the phone every week:
- The wall button works but the remote will not close the door (the opener is in safety lockout).
- The door closes if you hold the wall button down continuously - that is the manual override, and it confirms the sensors are the problem.
- The receiving LED flickers when the door vibrates or when the wind blows.
- The door reverses at the same height every time, roughly 4 to 8 inches off the floor.
If the door reverses at random heights, or reverses on the way up, that points to a travel-limit or force-setting issue rather than the sensors. That is a job for a garage door repair in Tampa tech because the fix is in the opener's logic board, not at the floor.
The 15-minute sensor test and alignment procedure
Do this in order. Skipping steps is why most DIY sensor fixes fail on the second day.
Step 1: Kill the power and clear the opening
Unplug the opener from the ceiling outlet, or flip the breaker that feeds the garage. Then close the door by hand (pull the red emergency release cord first) so you are not working under a live door. Clear anything stored within 3 feet of the sensor eyes - recycling bins, hose reels, and kids' bikes are the three most common beam blockers we find.
Step 2: Clean both lenses
Wipe each lens with a microfiber cloth and a little isopropyl alcohol. Tampa garages collect a film of dust, pollen, and salt air that scatters the infrared beam just enough to weaken the signal. Do not use paper towels - they leave lint that does the same thing.
Step 3: Check the LED indicators
Plug the opener back in and look at both eyes. A steady green on the receiving eye means the beam is being seen. If the receiving LED is off, the sending eye is not putting out, the receiving eye is not getting power, or the beam is blocked. If it is blinking, the beam is being interrupted or the unit is out of alignment.
Step 4: Loosen and aim
Each sensor bracket has a wing nut or Phillips screw on the mount. Loosen it just enough that the sensor can be moved by hand but stays where you put it. Aim the sending eye at the receiving eye - most units have a small alignment notch or arrow on top you can sight along. Move the receiving eye slowly left and right, up and down, until its LED goes steady green. Hold it there and tighten the screw.
Step 5: Verify with a physical test
Stand clear and press the wall button to close the door. While it is closing, sweep a broom handle through the beam about 6 inches off the floor. The door must reverse within 2 seconds. Test it three times. Then test the auto-reverse on the way down by laying a 2x4 flat under the door - the door should reverse on contact.
If the door still reverses on its own after alignment, the problem is usually in the wiring, not the aim. That is where a lot of homeowners get stuck, and it is also where we get called.
Why sensors fail in Tampa specifically
Sensors fail in Tampa for three local reasons: salt-air corrosion on the low-voltage wire, direct afternoon sun on the receiving eye, and the summer afternoon thunderstorm cycle that drives water into the bracket. None of these show up in a generic YouTube tutorial, and all three are things we see weekly.
Salt air is the big one. If you live within a few miles of the bay or the Gulf - South Tampa, Davis Islands, Westshore, Apollo Beach - the staples and wire nuts on the sensor pigtail corrode within a few years. The LED will look fine one day and be dead the next. We replace those pigtails with sealed connectors and heat-shrink, and they last.
Direct sun is the second. A west-facing garage in Carrollwood or Town 'N' Country gets blasted from 3 to 6 pm, and the sun can saturate the receiving eye's photodiode so it cannot distinguish the beam from ambient light. The door works all morning and refuses to close at 4 pm. A $6 sun shield or a piece of PVC pipe cut to 3 inches and slipped over the receiving eye fixes it.
Water is the third. Tampa gets roughly 50 inches of rain a year, most of it between June and September. If your driveway slopes toward the garage, water pools at the sensor bracket and works its way into the housing. We see this constantly in older Seminole Heights and West Tampa bungalows where the driveway was poured before modern drainage was standard. If you are already dealing with water damage at the door, it is worth having us look at the whole assembly - a garage door safety inspection in Tampa covers the sensors, the auto-reverse, the springs, and the hardware in one visit.
Common mistakes we see on DIY sensor fixes
The mistakes below account for most of the repeat calls we run on sensor issues. Each one is easy to avoid once you know it.
- Aligning with the door open. The door has to be fully closed to set the sensors correctly. With the door up, the brackets sit at a different angle and you are aiming at nothing.
- Over-tightening the bracket screw. The screw only needs to hold the sensor. Crank it down and you crack the plastic housing, which lets water in.
- Bypassing the sensors. Some openers let you hold the wall button to force the door closed. Never leave a garage in that state - a child or a pet under a closing door is exactly what the sensors exist to prevent.
- Replacing the sensors when the wire is the problem. A new sensor pair runs $25 to $60 in 2026. If the wire is corroded, the new sensors will fail the same way within a month.
- Ignoring the second safety feature. The sensors are one of two UL 325 protections. The other is the opener's force setting. If the door will not reverse on a 2x4, the sensors are not the whole story.
If you have already replaced the sensors and the door still reverses, stop buying parts. The next step is a proper diagnostic on the opener's logic board and the low-voltage run, and that is a job for a garage door sensor repair in Tampa tech with a meter.
When to call a professional
Call a professional when the receiving LED will not go steady green after a clean and a careful alignment, when the sensor wire shows any corrosion or chew marks, or when the door reverses on a 2x4 but not on a broom handle. Those three symptoms mean the problem is in the wiring or the opener, not the aim.
We also get called when the sensors are fine but the door still misbehaves - usually a sign the issue is mechanical. A garage door tune up in Tampa covers the sensors, the travel limits, the force settings, the rollers, and the hinges in one visit, and it is the cheapest way to stop chasing symptoms one at a time. Our team at garage door repairs Tampa Fl handles sensor alignment, wiring replacement, and full safety inspections across Hillsborough County, and we quote the price before we start.
Frequently Asked Questions
How do I test my garage door safety sensors?
Close the door and sweep a broom handle through the beam about 6 inches off the floor. The door must reverse within 2 seconds. Do it three times, then lay a 2x4 flat under the door and confirm it reverses on contact. Both tests together take under 2 minutes.
Why do my garage door sensors keep going out of alignment?
Loose brackets, vibration from a worn roller, or a bent track are the usual causes. If you realign them and they drift again within a week, the door itself is moving more than it should - a garage door roller repair in Tampa or track adjustment usually solves it.
What color should the sensor lights be?
On most LiftMaster and Chamberlain openers, the sending eye shows a steady amber or green, and the receiving eye shows a steady green when it sees the beam. A blinking or red receiving light means the beam is blocked, misaligned, or the unit is not getting power.
Can I just disconnect the sensors to make the door close?
No. Disconnecting or bypassing the photo eyes disables the door's primary safety feature and leaves you with a door that will close on anything under it. It is also a code violation on any home built after 1993. Fix the sensors instead.
How much does sensor repair cost in Tampa?
Typical 2026 pricing in Tampa runs $95 to $180 for a sensor alignment and wiring repair, and $150 to $300 if the sensor pair and pigtail need replacing. A full safety inspection that covers the sensors, springs, and auto-reverse runs $89 to $149.
Get help with garage door repair in Tampa
If your door still reverses after you have cleaned, aligned, and tested the sensors, we can be at your house the same day. We carry sensor pairs, pigtails, and sun shields on every truck, so most jobs are done in one visit.
Call +17739156384 and we will walk you through the LED codes over the phone before we roll a truck - sometimes that is all it takes.